
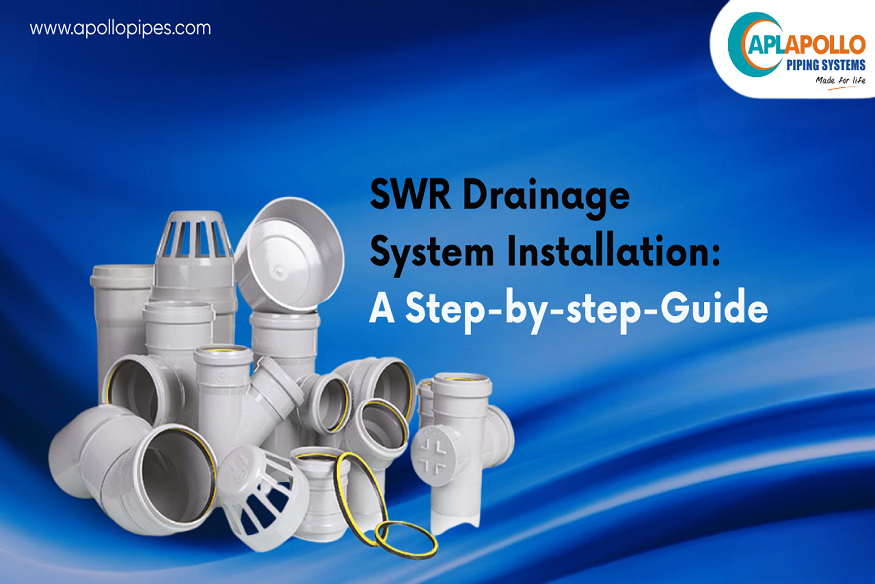
An efficient drainage network is essential for keeping buildings clean, hygienic, and protected from wastewater-related problems. An SWR drainage system is designed to carry soil, waste, and rainwater away from buildings through a properly connected network of drainage pipes and fittings. It is commonly used in residential and commercial buildings as well as other infrastructure projects.
Proper installation plays an important role in achieving reliable drainage performance. Correct pipe sizing, suitable fittings, secure joints, adequate slope, and proper testing can help prevent blockages, leakage, and poor water flow. Whether you are a homeowner, contractor, builder, or architect, understanding the basic installation process can help you plan and supervise an effective drainage system.
What Is an SWR Drainage System?
SWR stands for Soil, Waste and Rainwater. An SWR drainage system consists of pipes and different fittings designed to collect and transport wastewater and rainwater from a building to the appropriate drainage point.
The main components generally include SWR pipes, pipe fittings, traps, bends, tees, couplers, cleaning pipes, and joints. Depending on the building layout, these components are connected to create a continuous path for wastewater and rainwater.
Read More: A Practical Tile Selection Guide for Projects That Demand Both Performance and Style
The performance of the system depends not only on the quality of the drainage pipes but also on correct installation. A properly planned system should allow water to flow smoothly while reducing the possibility of leakage, blockages, and maintenance problems.
Step-by-Step Guide to SWR Drainage System Installation
Step 1: Plan the Drainage Layout
Start by preparing a detailed drainage layout. Identify the locations of bathrooms, kitchens, utility areas, rainwater outlets, traps, vertical stacks, and the final discharge points.
Plan the shortest practical route for the pipes while avoiding unnecessary bends. The layout should also provide suitable access points for future inspection and cleaning. Good planning helps reduce installation complications and unnecessary joints.
Step 2: Select the Appropriate Pipes and Fittings
Choose pipe sizes and fittings according to the drainage requirements of the building. Make sure that pipes, bends, tees, couplers, traps, and other fittings are compatible with each other.
The selected components should be suitable for the intended application and installation environment. Using compatible products helps create secure joints and supports efficient water flow.
Step 3: Measure and Cut the Pipes
Measure each pipe section carefully before cutting. Mark the required length and cut the pipe as squarely and accurately as possible.
An uneven or angled cut can affect the quality of the connection. After cutting, inspect the pipe end and remove burrs or rough edges. Proper preparation creates a cleaner contact surface and makes joint assembly easier.
Step 4: Prepare and Connect the Joints
Before connecting pipes and fittings, clean dirt and moisture from the joining surfaces. For systems using rubber-ring joints, inspect the seal and ensure that it is correctly positioned.
Apply the appropriate lubricant where required and insert the pipe into the fitting socket according to the manufacturer’s installation instructions. Proper joint preparation is essential for leakage prevention and long-term performance.
Step 5: Maintain the Correct Pipe Slope
Drainage pipes need an appropriate slope so that wastewater can move efficiently under gravity. A pipe that is too flat may allow waste to settle and increase the possibility of blockages, while an excessive slope can cause water to move away faster than solid waste.
The required slope should be determined according to the applicable plumbing standards, building design, pipe diameter, and project requirements. Use suitable measuring tools during installation to maintain a consistent gradient.
Step 6: Install Traps and Fittings
Install traps and fittings at the locations specified in the drainage design. Bends, tees, Y-connections, couplers, and cleaning points should be positioned carefully to maintain smooth flow.
Avoid unnecessary sharp changes in direction. Where access for cleaning is required, provide suitable cleaning points so that blockages can be addressed without dismantling large sections of the system.
Step 7: Secure and Support the Pipes
Drainage pipes should be adequately supported, particularly in vertical and overhead installations. Proper supports help prevent sagging, movement, or excessive stress on joints.
Support spacing and fixing methods should follow the relevant installation recommendations and project requirements. A stable pipe network helps maintain the intended slope and protects connections from unnecessary movement.
Step 8: Test the System for Leaks and Proper Flow
Testing should be completed before the drainage installation is concealed or covered. Inspect joints and fittings for visible leakage and check whether water flows smoothly through the system.
A flow test can help identify incorrect slopes, blockages, poorly connected joints, or other installation issues. Any problem should be corrected before the system is put into regular service.
Common Mistakes to Avoid During Installation
Several installation mistakes can reduce the effectiveness of an SWR drainage system:
- Incorrect slope: An unsuitable gradient can affect wastewater flow and contribute to blockages.
- Poorly connected joints: Improperly prepared or assembled joints can result in leakage.
- Improper pipe support: Unsupported pipes may sag or place additional stress on joints.
- Incompatible fittings: Components should be properly matched for size and connection type.
- Skipping testing: Failing to test the system can allow leaks or flow problems to remain hidden after installation.
Careful installation and inspection at every stage can prevent many of these issues.
Maintenance Tips for an SWR Drainage System
Regular maintenance helps preserve drainage performance over time. Keep drainage outlets and traps free from debris, and avoid disposing of materials that can cause blockages through sinks or toilets. Periodically inspect accessible joints, cleaning points, and exposed pipes for signs of leakage or damage.
If slow drainage, unusual smells, recurring blockages, or visible leakage occurs, investigate the issue promptly rather than allowing it to worsen. Professional inspection may be appropriate for concealed or complex drainage networks.
APL Apollo SWR Drainage System
APL Apollo’s SWR drainage system comprises SWR pipes and fittings designed for soil, waste, and rainwater drainage applications. According to the company’s official product page, the system is manufactured from quality raw material, uses world-class machining, is lighter than conventional metal pipes, and offers chemical resistance. The page also identifies the system as non-conducive, economical, and ISI certified. Available pipe sizes are listed as 75 mm, 90 mm, 110 mm, and 160 mm, while fittings are available from 75 mm to 160 mm. The system is stated to be suitable for residential buildings, commercial buildings, hotels, educational institutions, swimming pools, and other infrastructure applications.